Jupyter Notebook On Linux
Lately I’ve been running a lot of code for neural networks, so I always use .ipynb files. However, since running on the local machine often out of memory. So I decided to use the academy’s Linux servers.
But it took me a lot to access the server’s Jupyter Notebook on my local browser. So I summarized my experience and shared it with you.
Prerequisite Preparation
Assuming that you already have Jupyter Notebook installed on your Linux server.
Configure Jupyter Notebook
Generate Jupyter Notebook configuration file
jupyter notebook --generate-config
If you’ve used this command before, or created a configuration file yourself, the command line may ask you if you want to overwrite an existing file.

If you want to override, just select Override.
Edit Jupyter Notebook configuration file
The command line will tell you the path to the config file, for example:
/home/username/.jupyter/jupyter_notebook_config.py
This file contains various configuration information of Jupyter, but by default it is commented out. So we’re going to set up a few of them.
You can open and modify the file through vim:
vim /home/username/.jupyter/jupyter_notebook_config.py
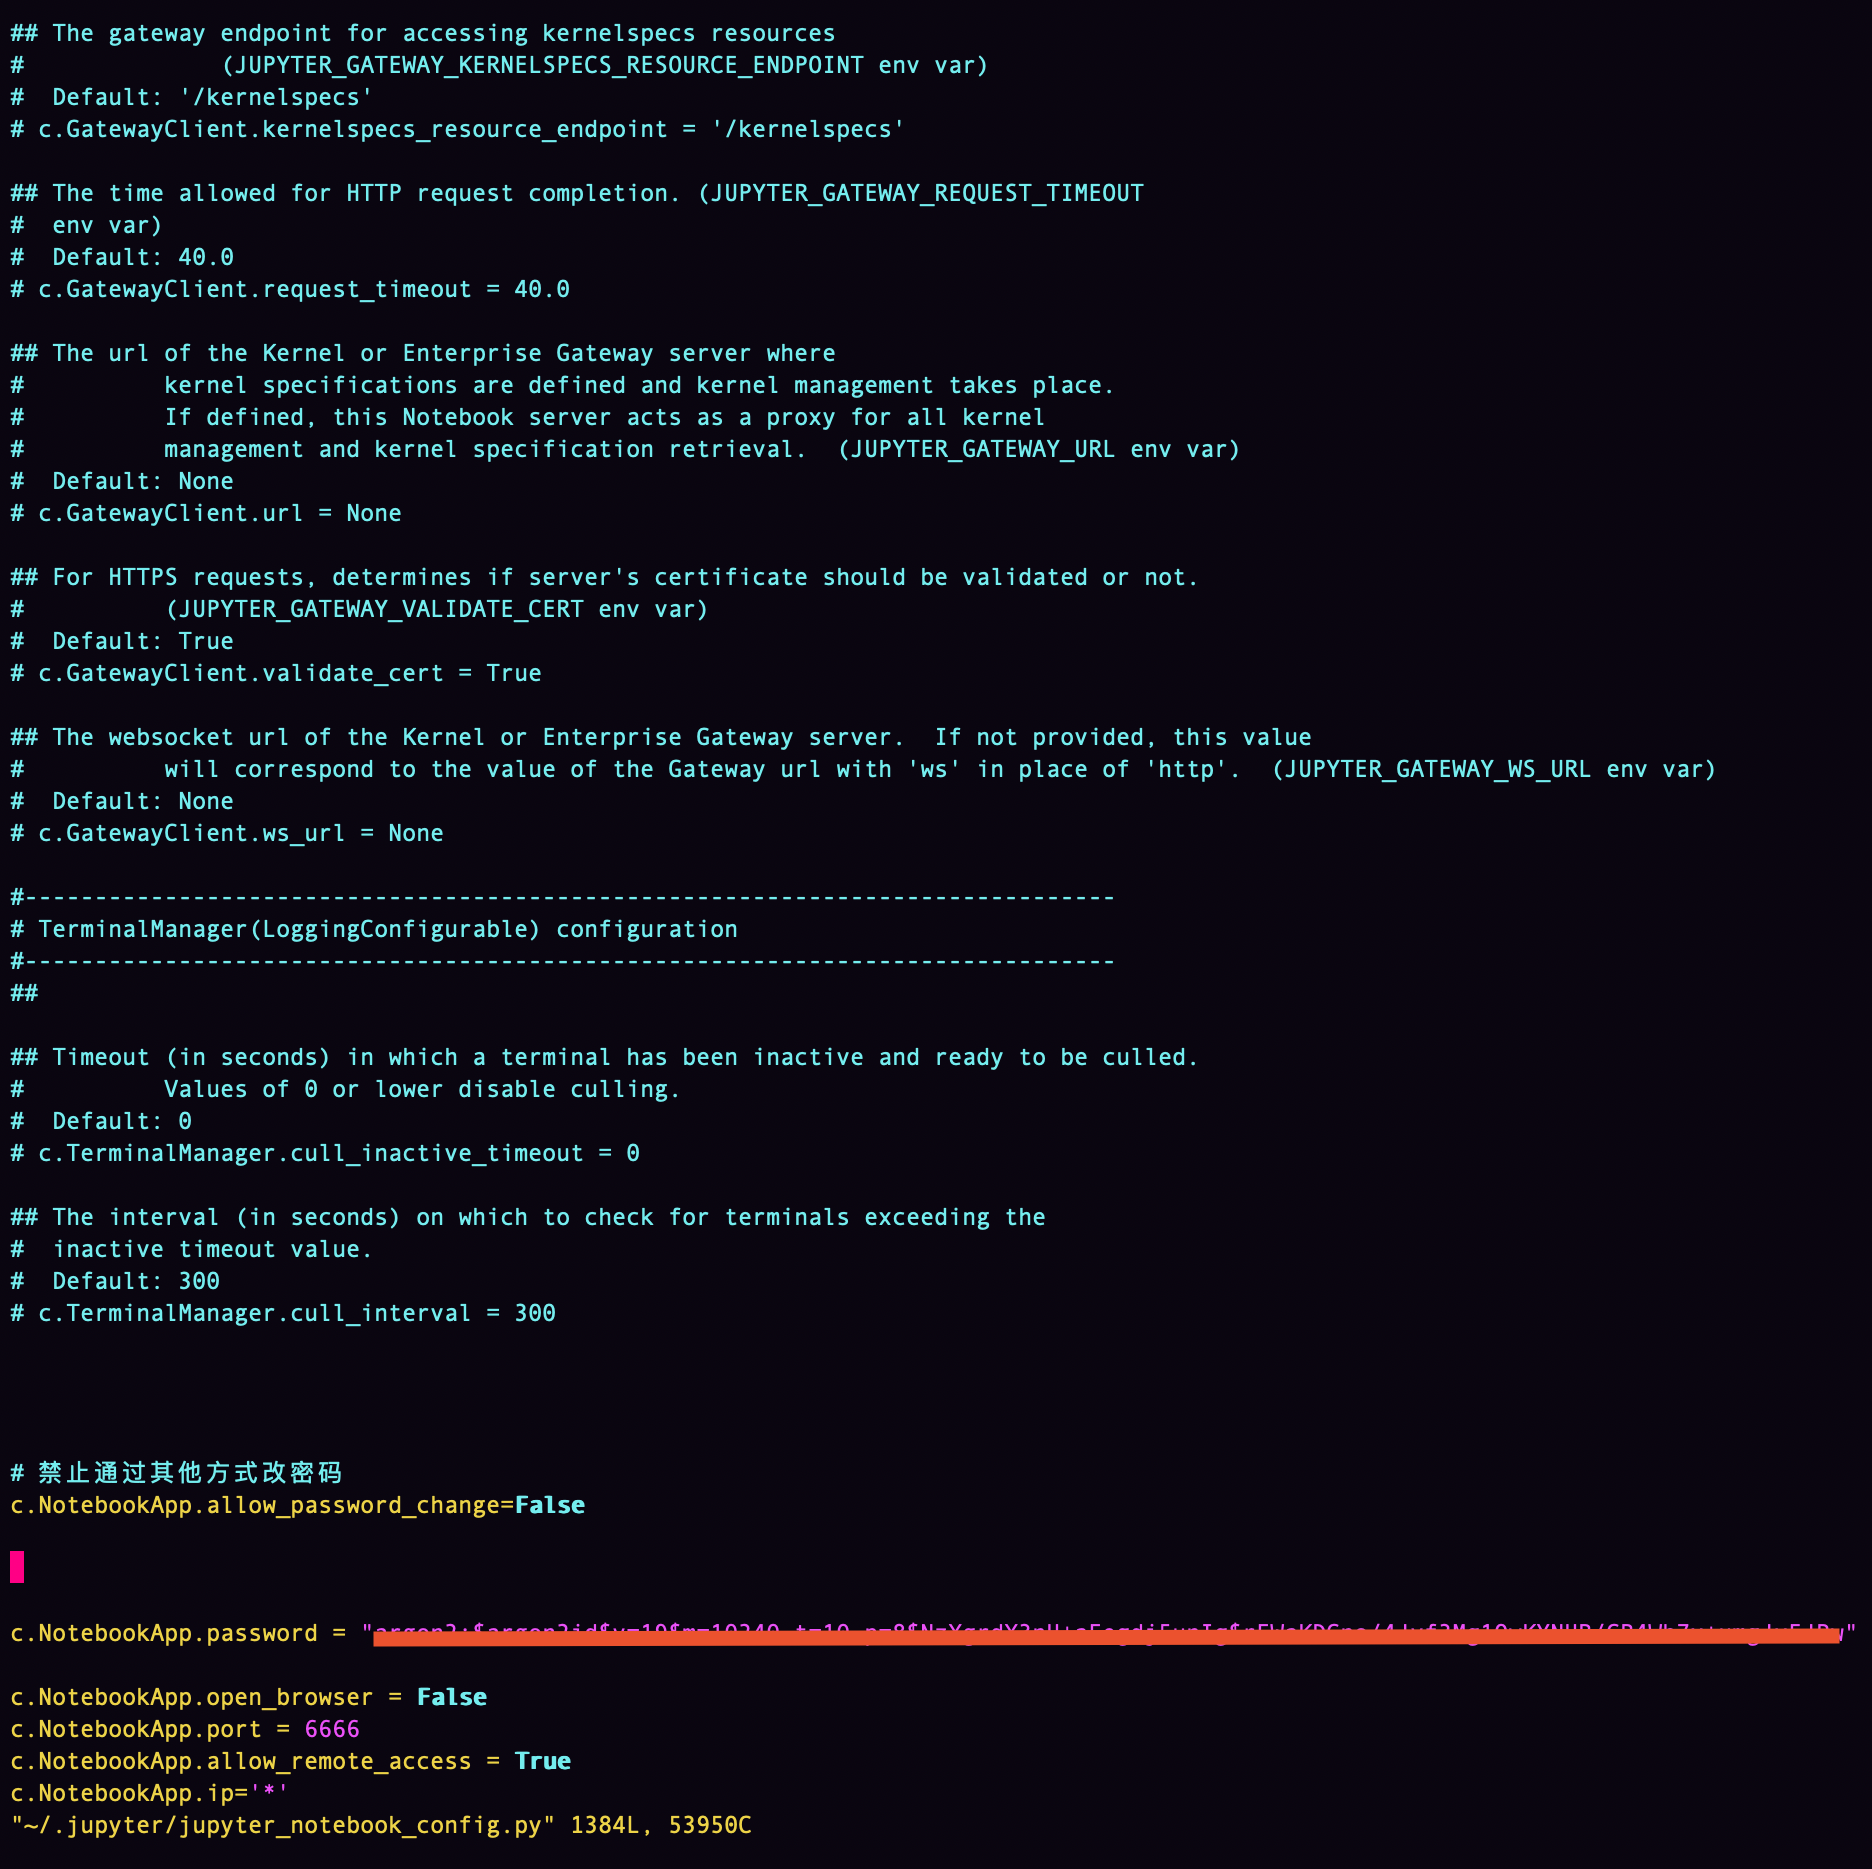
Start with password-related settings
Add a line at the end of the above config file and save before exit:
c.NotebookApp.allow_password_change=False
Then enter on the command line:
jupyter notebook password
Then You will see this output:

Enter your password, you will not see an asterisk when you enter it, just enter it directly. After typing, the command line returns a JSON file.
This JSON file and the config file just now are in the same directory. Open this json file and you will see the following:
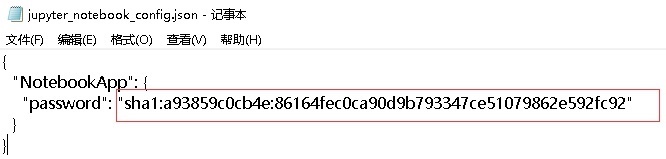
The red box is the hash value of the password, copy everything inside the double quotes, which will be used later.
Next, open the config file just now, adding a line at the end:
c.NotebookApp.password = "你刚才复制的hash值"
Then password-related settings Binggo!
Browser settings
After jupyter is running, the server itself may open a built-in Firefox browser, but some servers do not have such a built-in Firefox browser, so you have to decide whether to open the built-in browser when starting the service according to your own situation:
c.NotebookApp.open_browser = False # 不打开内置浏览器
Remote visiting settings
In order to access in your local browser, You should allow external IP to log in:
c.NotebookApp.allow_remote_access = True
c.NotebookApp.ip='*'
* represents you allow any external IP to log in, if you only want specific IP are allowed, just use your IP instead.
Server port settings
The default port is 8888, if you want to specify the port, such as running on port 6666:
c.NotebookApp.port = 8888
Directory port settings
If you want to modify the Jupyter Notebook’s working directory:
c.NotebookApp.notebook_dir = “你的目录”
When you access for the first time, you have to enter the password, which is the one you set up earlier.
By default, everyone uses anaconda as a Python environment, say more:
-
If you are using Anaconda, even if you install it with
pip install, Jupyter does not belong to any virtual environment, but to the entire server (the entire computer). -
Jupyter can run on different ports on a single server at the same time.
Local and server port mapping
Now you are just one step away from accessing the server Jupyter Notebook in your local browser.
On the local computer, map the server port to the local computer, use the cmd command to open the console (Windows user), or open terminal (Mac user), enter:
ssh username@server_ip -L127.0.0.1:8000:127.0.0.1:6666
whereas
6666: represents the same port used by the server-side Jupyter Notebook8000: represents the port used by the local-side, it is changeable to youusername: is your username that is opened on the serverserver_ip: is the IP of the server127.0.0.1: is a fixed format, cause it represents localhost, which is the IP address inside the localhost IP stack
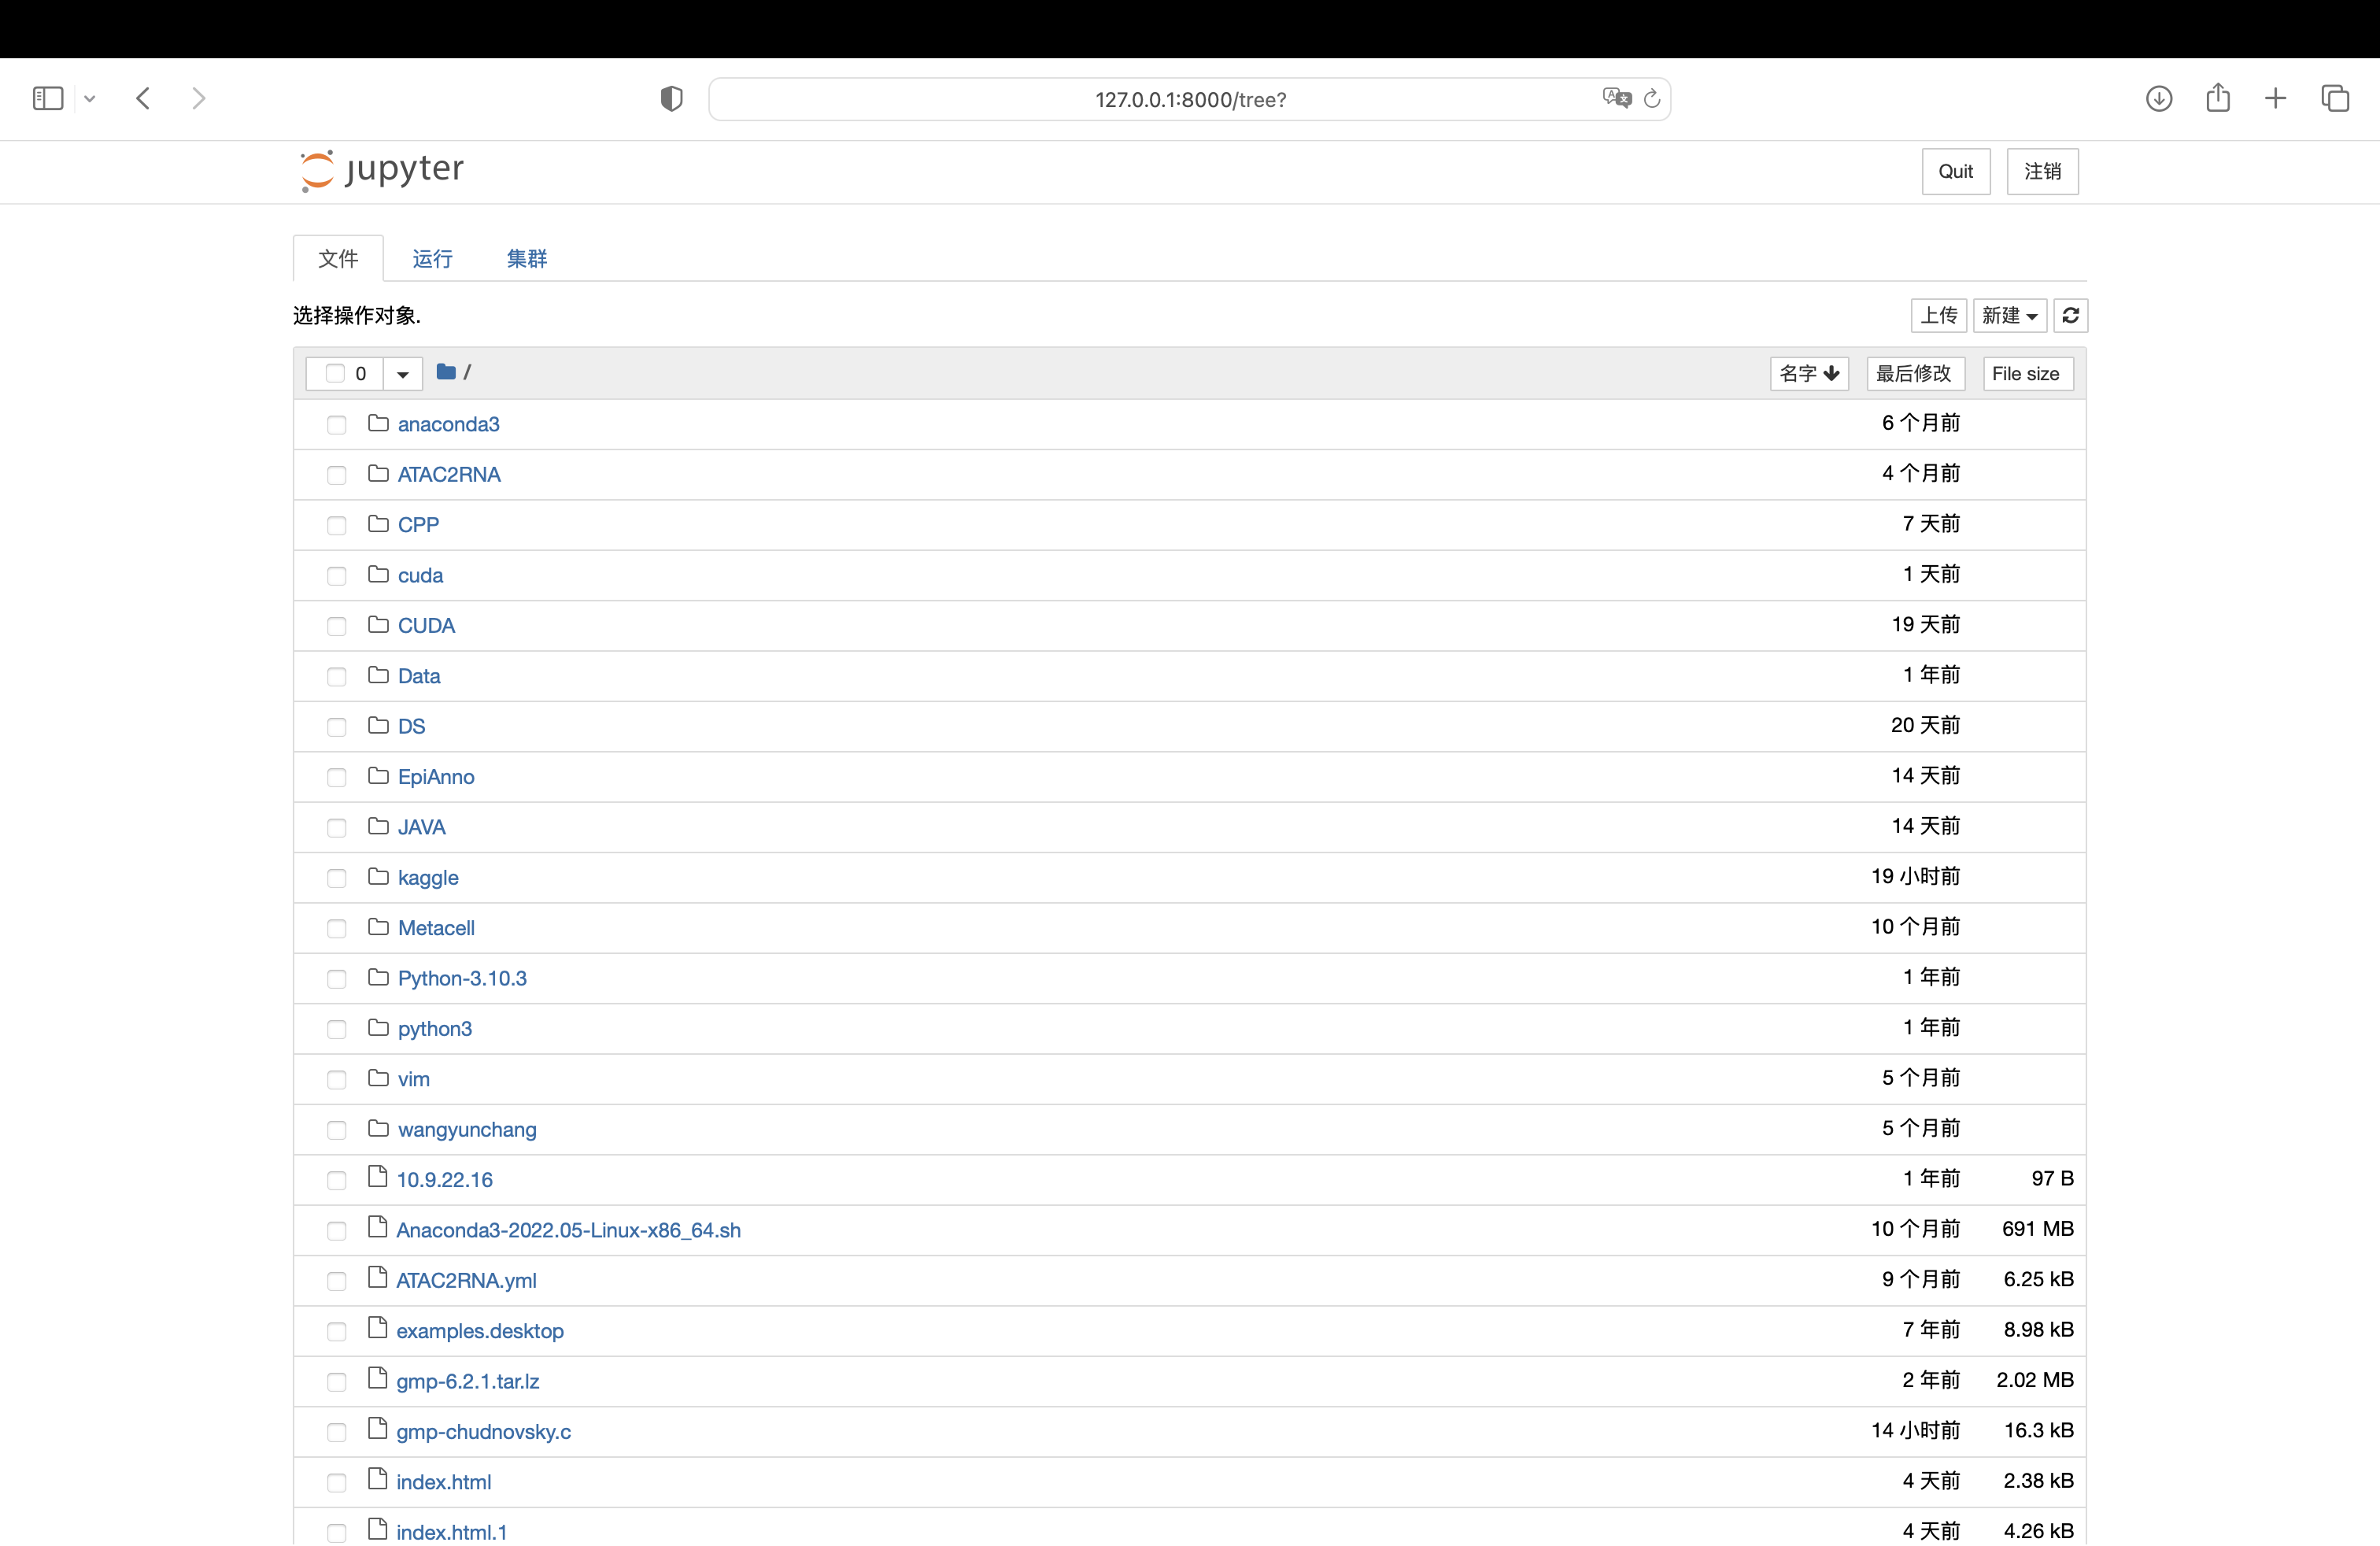
visiting Jupyter Notebook
Enter the http://127.0.0.1:8000 in your local browser, then you can visit Jupyter Notebook on the remote Linux server on your local browser!
Comments
Be the first one to comment on this page!